Marshall The Guv’nor
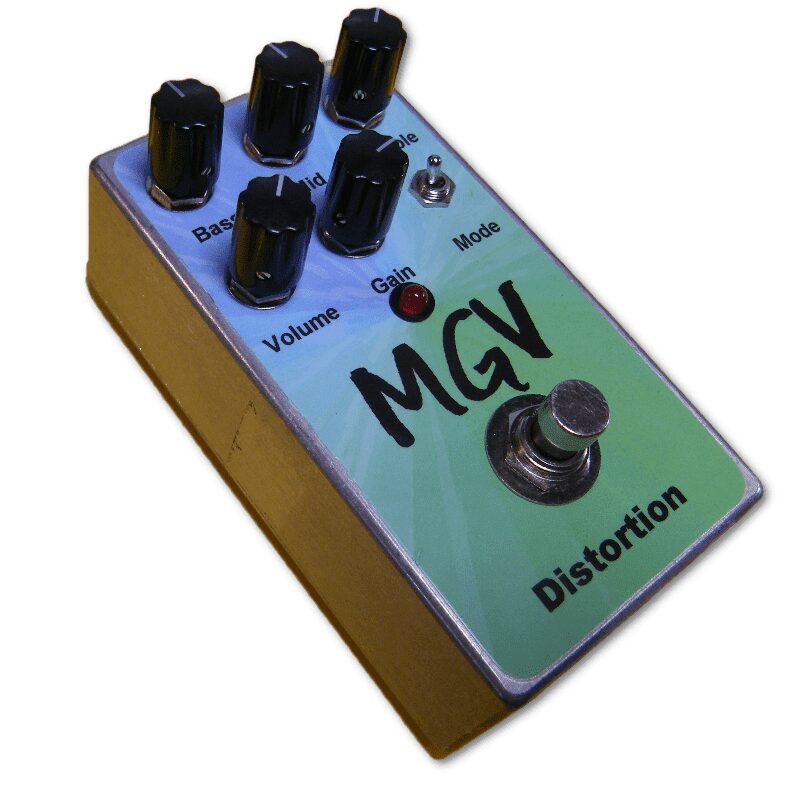
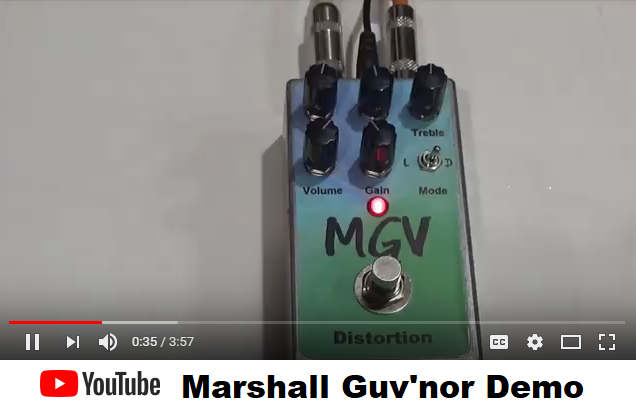
This project is based on the Marshall The Guv’nor and also the Danelectro Daddy-o, which is basically the same circuit as The Guv’nor with input and output buffers added. This is the circuit for the original black unit from the 1980’s, not any of the later, inferior versions. This is a very versatile distortion effect, one of the best ever made in our opinion. With the tone controls, it is possible to get a nice variety of sounds.
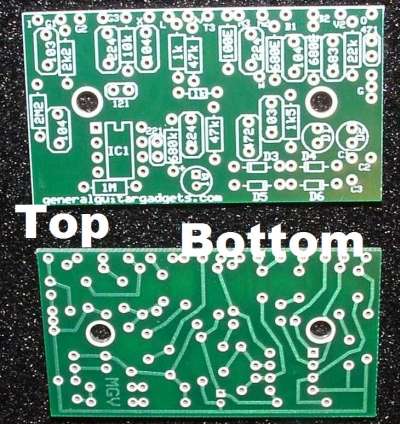
We utilized the space in the lower right section of the PCB to install the clippers and wired them to the toggle switch. This adds another set of sounds to the effect.
Any trademarks mention on this page belong to their rightful owners and not to General Guitar Gadgets
- General Build Instructions
- MGV Build Instructions
- MGV Bill of Materials
- MGV Schematic with modern improvements
- MGV Parts Layout/Wiring Diagram, Stage 1 Wiring
- MGV Parts Layout/Wiring Diagram, Stage 2 Wiring
- MGV Parts Layout/Wiring Diagram, Stage 3 Wiring
- MGV Parts Layout/Wiring Diagram, All Wiring
- MGV Ready-For-Transfer Printed Circuit Board Layout – For use only if you are a complete DIY person who wants to etch and drill your own PCB. Otherwise, we recommend you ignore this PCB mask and buy the Ready-to-Solder Printed Circuit Board or Complete Kit from the links below.
- MGV Project Revisions History
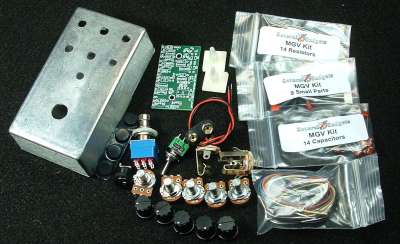
Buy a MGV Complete Kit. Includes all the parts and materials you need to build one, all for about the price you would pay for a PCB and parts.

Would you like a Ready to Solder Circuit Board for this project? Note: If you buy the kit, the Ready-to-Solder Printed Circuit Board (RTS PCB) is included in the kit. You do not need to purchase this Ready to Solder Circuit Printed Board if you buy the kit.


